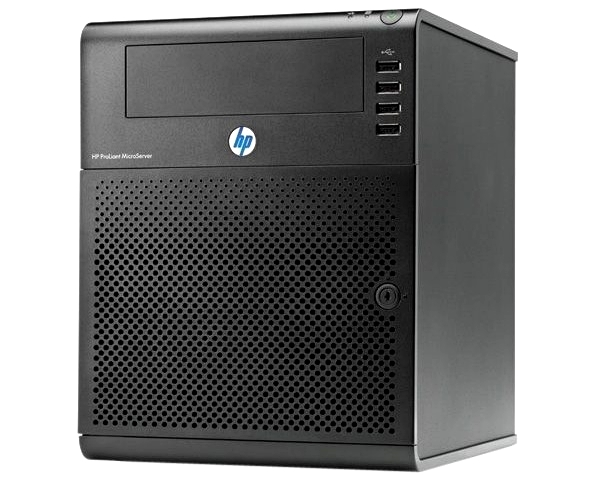
If you’ve read any of my previous posts you’ll know I’m a long time fan of the HP Microserver. It’s an extremely versatile little machine that can be used for many different purposes (one of mine is a FreeNAS based NAS, another is a VMware ESXi virtualisation test machine) and with the various cashback schemes that HP has offered throughout its life, it’s worked out to be a very cost effective option.
Although it’s designed as a home/small office server I know many people have used them as desktop PCs. I recently built my parents a basic Windows 7 desktop PC in a day, at very short notice when the main low-power PC they used to run their newsagents died.
I had a spare N54L G7 Microserver from the last HP £100 cashback promotion so I thought I would see how effective it would be as a desktop PC for myself, with a view to it possibly acting as a cheap replacement for my 8 year old Windows XP Pro based PC which I was sure was on its last legs.
This ancient PC had an Athlon 64 X2 dual core 4400+ CPU, 3GB RAM and a single NVIDIA GeForce 7800GT video card and has served me well for all these years. It’s graphics capability has changed somewhat over its life – I used to do a fair amount of flight simming on it using Microsoft Flight Simulator 2004 and FSX… it started out with a single 7800GT card, then a second identical 7800GT was added to form an SLI pair, then both of these were replaced with a single 8800GTS card which eventually blew up and so finally I reverted back to a single 7800GT. When I looked at the benchmarks for the Athlon X2 4400+ CPU and compared these with the dual core Atom in the N54L microserver, the microserver came out more powerful! And modern GPUs are much more poweful than the 7800 so it wouldn’t be difficult to improve the overall specs on a budget.
A basic desktop PC
After installing Windows 7 64-bit to the bundled 250GB hard drive I ended up with a usable desktop PC, albeit with only the stock 2GB RAM and using the on-board VGA-out only graphics and no sound. I then installed a few of my frequently used apps and trialed it for a few weeks.
The machine performed admirably during this initial trial so I then decided to get a dedicated PCI-E graphics card to up the graphical power and also to add sound capability…
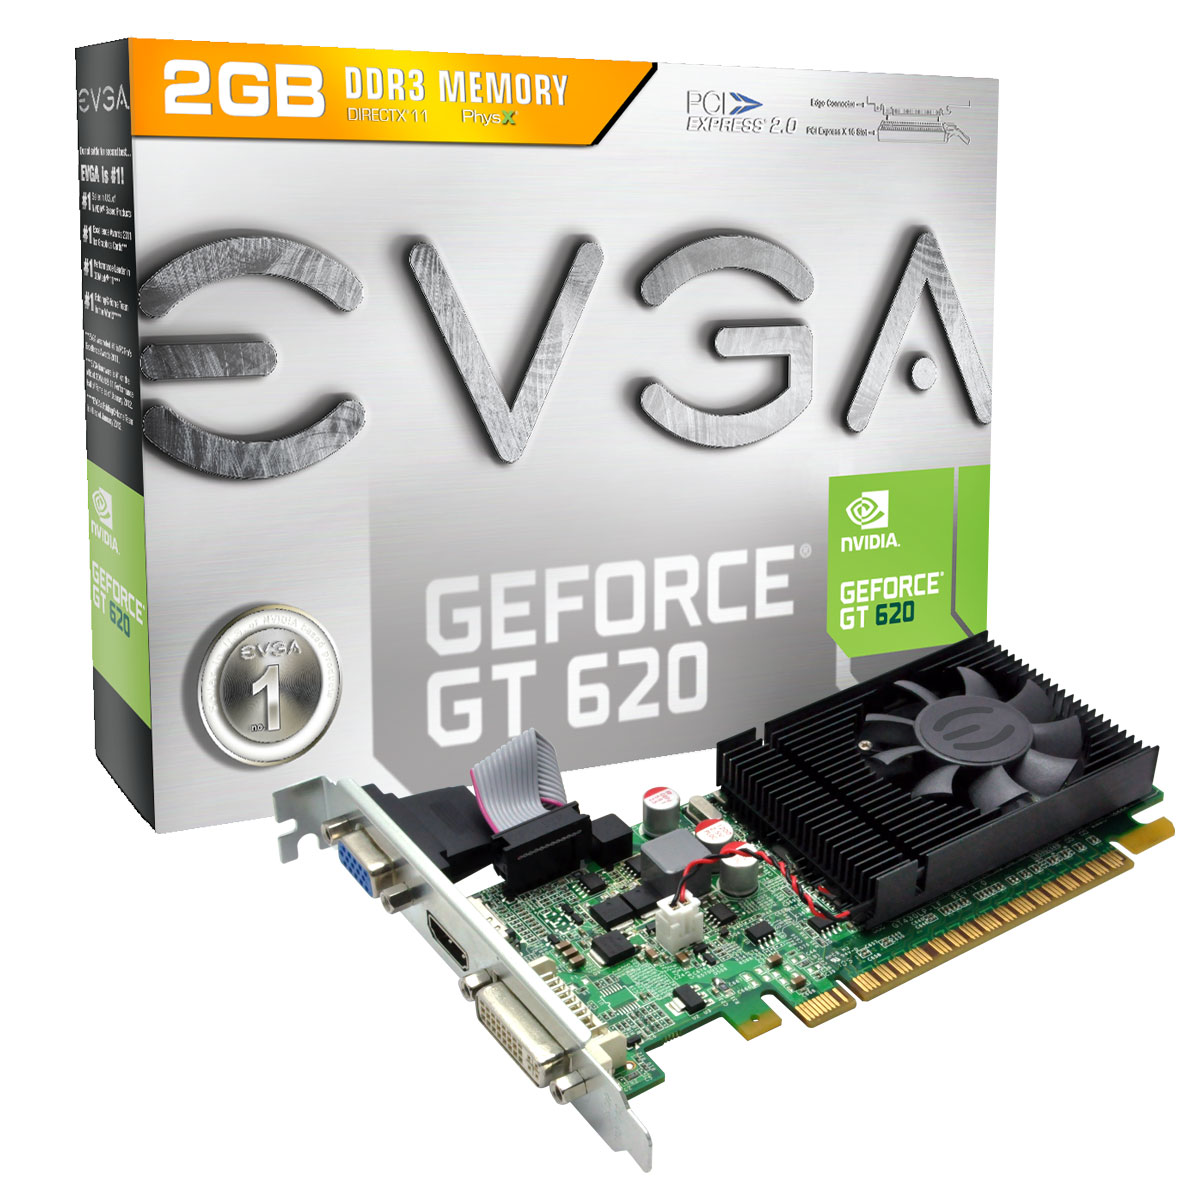
For the graphics I decided to go with the reasonably priced EVGA NVIDIA GT620 2GB DDR3 PCE-E graphics card for £42 from Amazon. I’d read reports that the 1GB version of this board had been tested successfully in the microserver so figured that the 2GB version should be almost identical. It’s a low profile card with a large heatsink and small fan so hoped it would fit in the limited space available. When it arrived I was relieved to find that it fit with no problems and worked just fine, increasing the Windows Experience Index for the graphical elements by several notches. You can just hear the fan on-board this card so it does add to the overall noise a little, but I wouldn’t describe it as loud and it’s way quieter than the big old cards in the old PC!
For the sound I opted for a bargain basement Dynavision USB sound adapter for the princely sum of £4.99 from PC World!
I also took the opportunity to swap out the 2GB RAM for 8GB of Kingston non ECC RAM from another of my spare microservers, a move which gave Windows more room to breath.
After these relatively minor upgrades the resulting PC felt very responsive, much more so than my ailing Windows XP Pro machine.
My first SSD
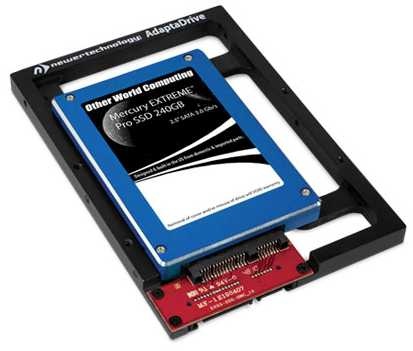
I’ve never owned an SSD before and have wanted to give one a try for a long time, so now seemed like the perfect opportunity in an attempt to make this little PC even more responsive. I did plenty of research and decided that the Samsung 840 Pro would be the best fit for this PC. I could probably have got away with a lesser performing drive given that the microserver’s SATA ports are only SATA II 3Gb/s and not SATA III 6Gb/s but I’d read no end of good reviews of these drives so decided that was the one to go for. I deliberated over what size to get but in the end thought that 128GB would not give me much headroom and so went for the 256GB model.
In order that I could mount the SSD in one of the four available drive bays I purchased a NewerTech Adaptadrive SSD to 3.5″ mounting adapter from Ebuyer. This clever little adapter bracket screws to the SSD so that the SATA data / power connectors and drive mounting holes are in the same position as a 3.5″ drive such that it can be mounted directly in the microserver drive bay caddy. This would mean I didn’t have to use up the optical drive bay with the SSD or have to route the eSATA connector back into the case.
Migrating the existing Windows installation
Given that I’d already got a fully tested Windows 7 installation on the 250GB HDD, I used the excellent bundled Samsung Data Migration tool to do a clone of the existing installation onto the SSD. This was very straightforward and took around 20 minutes for the 85GB Windows installation. Once the cloning had completed, I shut down the microserver, removed the 250GB HDD and rebooted, setting the SSD to be the boot drive in the BIOS. On reboot, Windows started as expected and from that point onwards felt even more responsive than before.
In summary
So all things considered, this little experiment has resulted in a very usable and responsive little desktop PC and a more than suitable replacement for my old Windows XP dinosaur.
Summarising good and bad points:
Good
- Reasonably powerful
- Good quality construction
- Small form factor
- Very quiet
- Decent spec level (RAM, graphics, SSD)
- Storage easily expandable (3 remaining HDD bays and eSATA port on rear)
Bad
- External USB sound
- USB2, not USB3
- Only 2 x USB on the rear, other 4 x USB are on the front panel
- Limited expansion possibility (CPU, graphics, RAM up to 16GB)